Although if I do generate the path in forward order, I get an unintentional animated effect from the change in the dash pattern that actually looks kind of cool.
Mark Pospesel (Coding and Other Stuff)
Coding, tech, living abroad, travel, hiking, vintage plastic bricks
Although if I do generate the path in forward order, I get an unintentional animated effect from the change in the dash pattern that actually looks kind of cool.

I’m experimenting with showing routes in progress for each climber. The CGPath of the SKShapeNode needs to be recalculated with each move so that the path can “disappear” as the climber follows it. The path is generated in reverse order (starting from destination tile node) so that the dash pattern is constant .
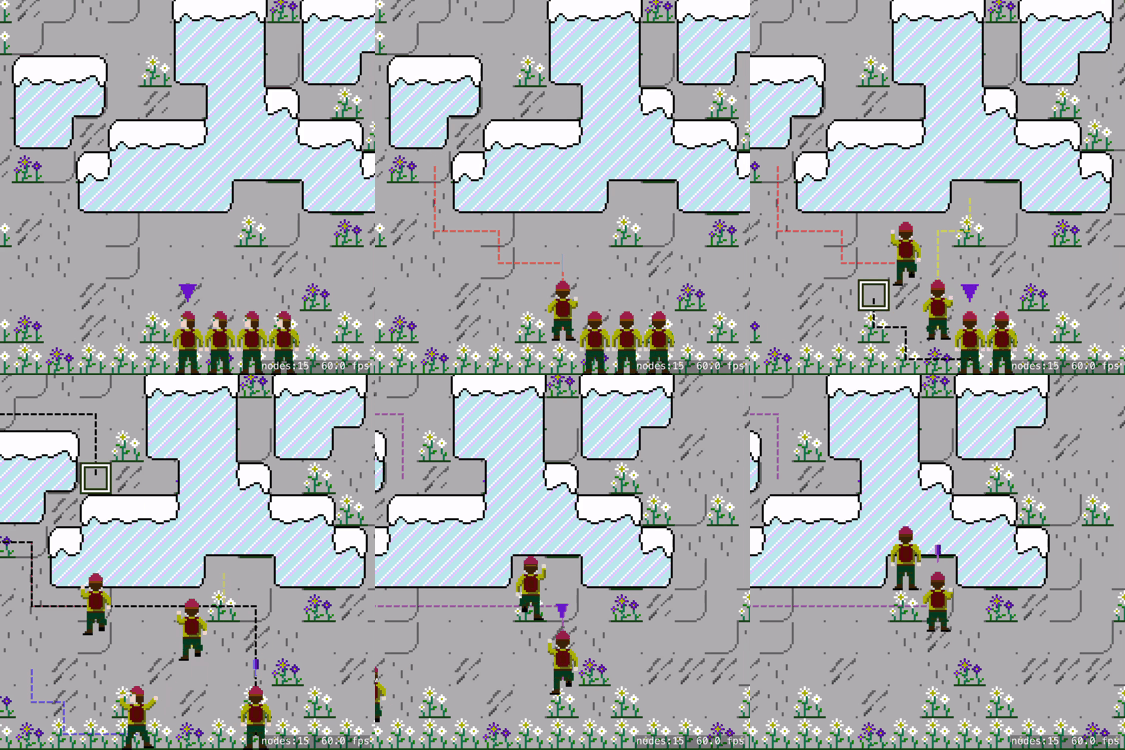
Using SKShapeNode to display a dotted line of proposed route to the selected tile. The changes to the route as the destination tile moves provide insight into how GameplayKit’s path finding algorithms work.
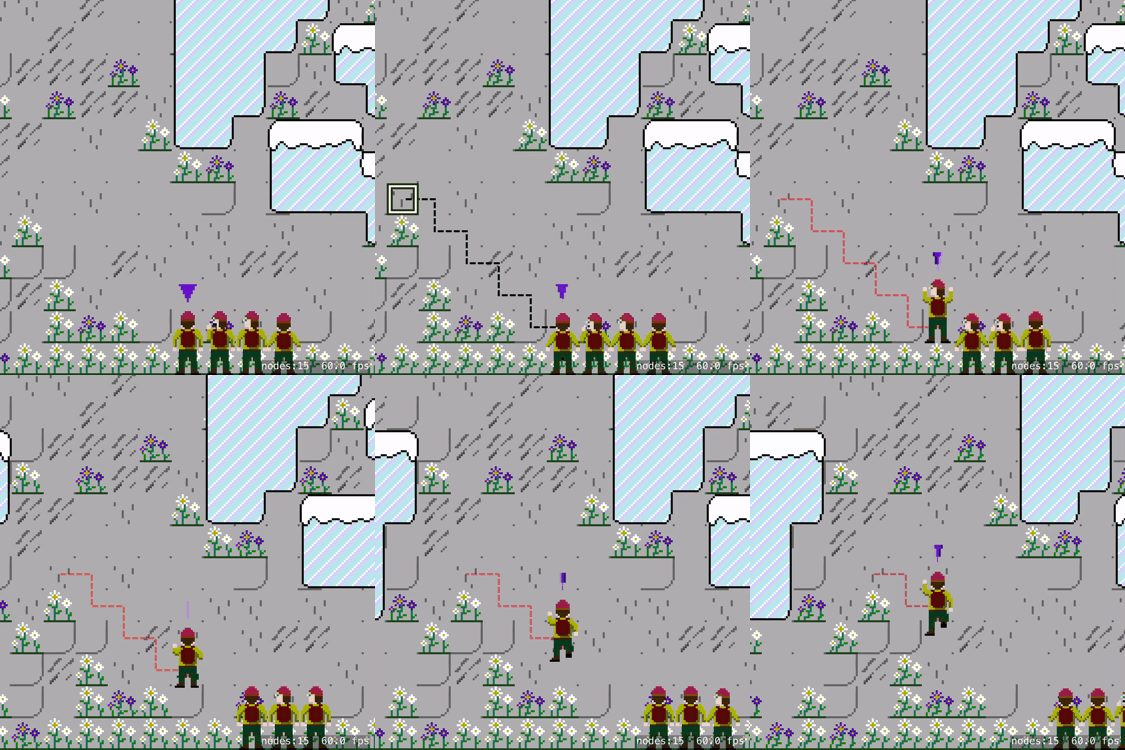
GIF of the climbing team in action. I’m thinking about showing a dotted line of the proposed route for each climber when selecting destination. The 3rd and 4th climbers are starting to yawn by the time I get them going.
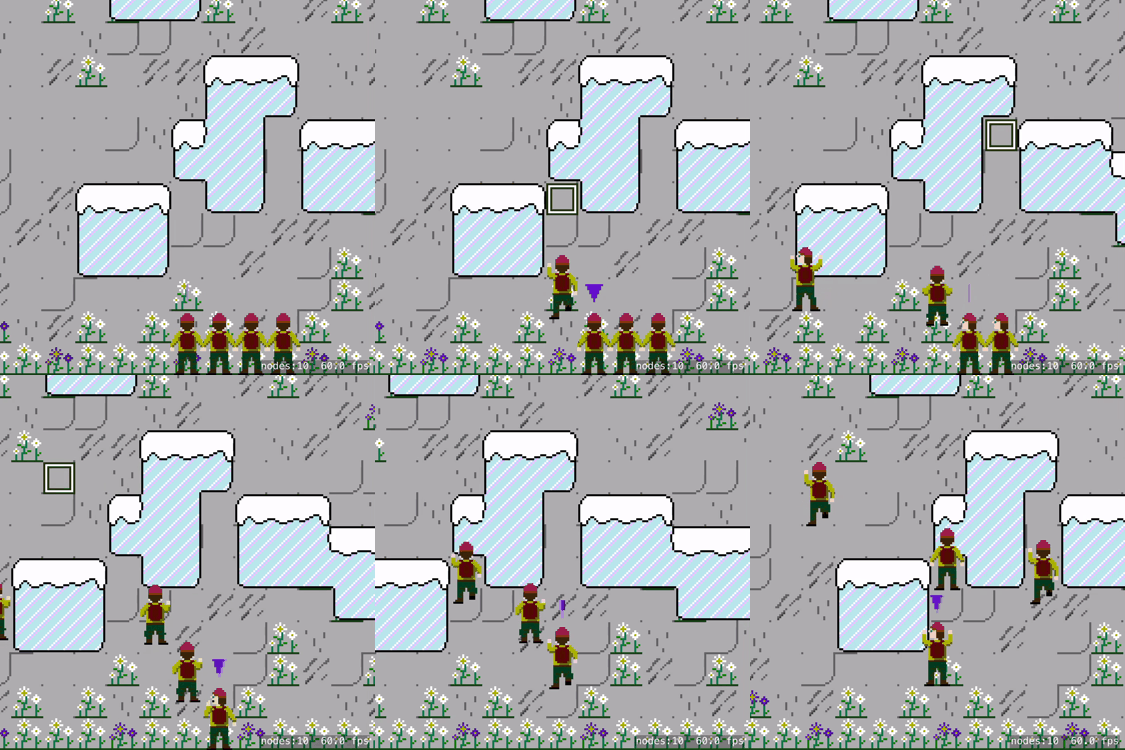
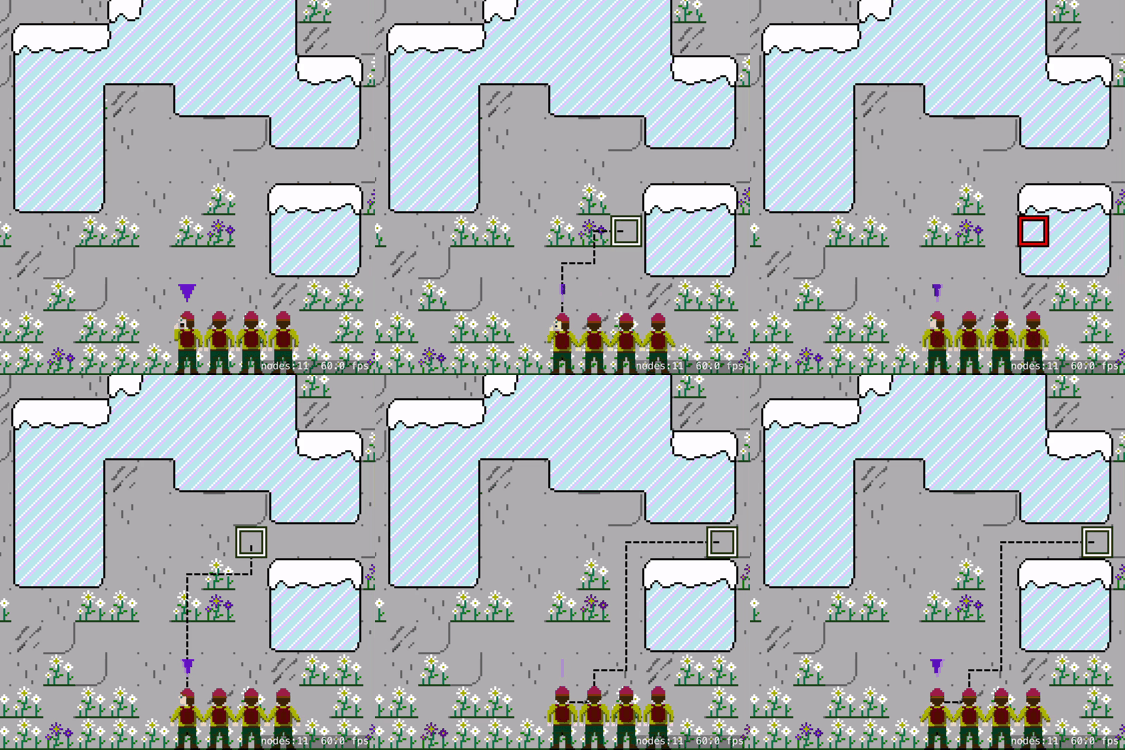
Today I worked on turning one climber into a team of climbers. Each climber can be selected and independently moved. Next we need to rope them together. We’ll also need to give each climber a unique appearance.
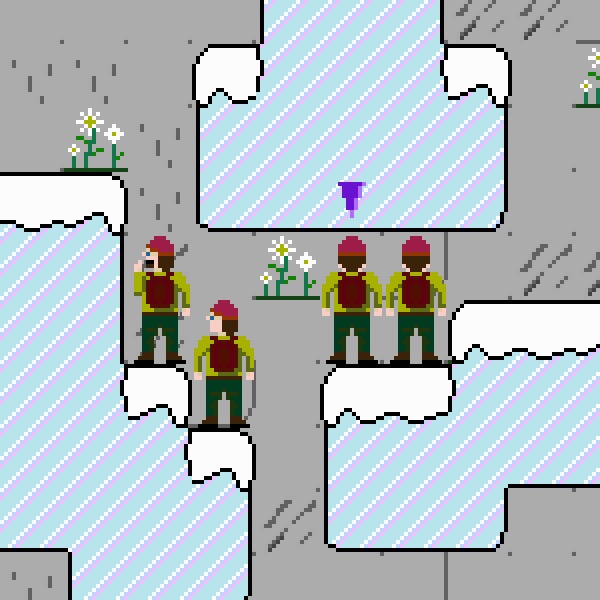
Yawwwwwwn…
(having fun animating with SKAction)
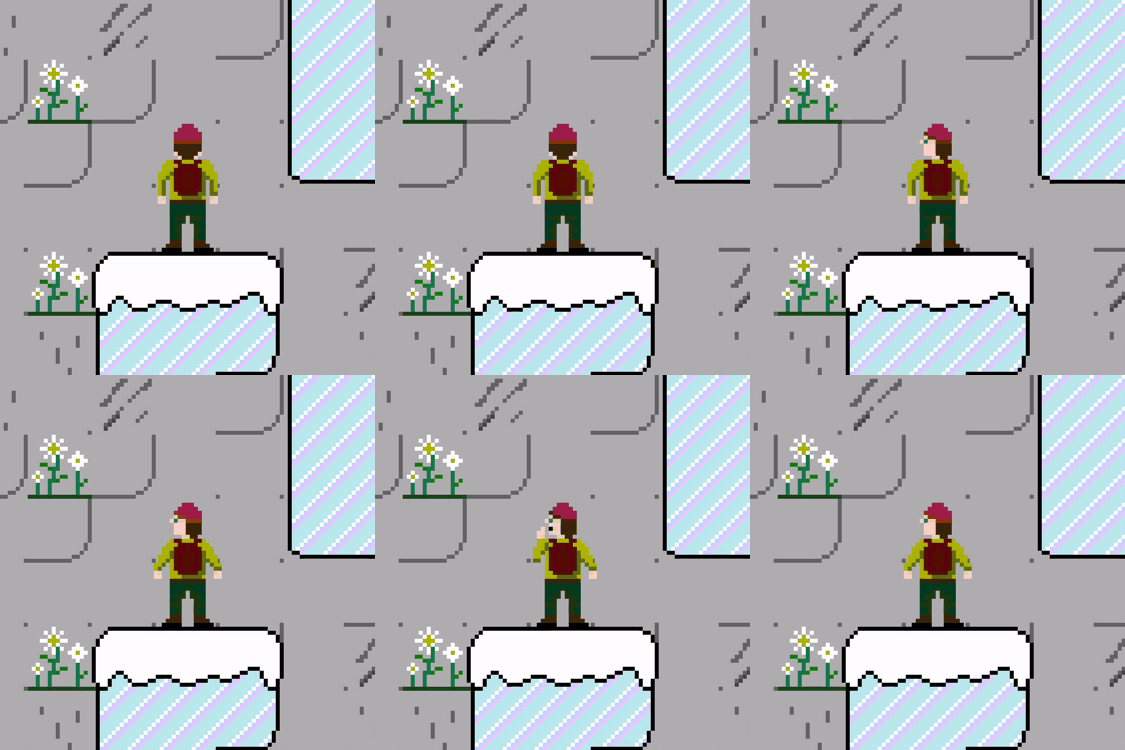
I decided to use SKTileMapNode to render the mountain that must be climbed. There will be tiles for stone, sky, ice, snow, flowers, etc.

As I mentioned in my previous post, Mountain Dash renders 1x pixel art at 2x (which means 4 × 4 or 9 × 9 pixels on screen for each pixel in the original assets). I chose to do tiles at 16 × 16 pixels, so I need each tile to render at 32 × 32 points. It is entirely possible to do this using the Tile Set Editor and Tile Map Editor in Xcode, but I ran into two problems:
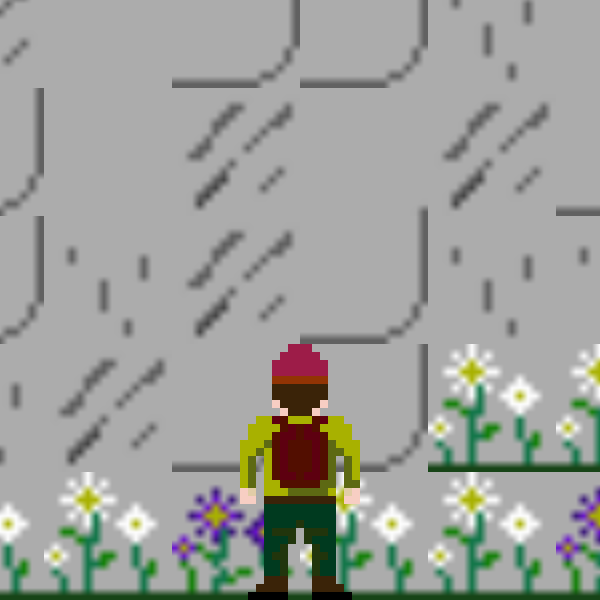
I already knew that I could fix the blur in code by setting filteringMode = .nearest for each texture, but while the Tile Set Editor lets you define textures, it doesn’t let you set filteringMode.
All of the above was way too much hassle and as it turns out unnecessary. Instead of scaling up my maps and my sprite by 2x, I could use all my assets at their native sizes and just use an SKCameraNode and set cameraNode.scale = 0.5 to scale in 2x. I need to use SKCameraNode anyway to scroll my map (you just change the position of the camera), so this was perfect. Also it’s helpful for debugging to use the camera’s scale to either zoom in (see pixel art details) or zoom out (see more of the map on screen at once). (The above screenshot was taken at 4x or scale = 0.25.) I may even add a pinch-to-zoom gesture to allow the player to do the same. The scale on SKCameraNode was unintuitive at first because it is the inverse of what I expected; I’m used to writing scale = 2 to double a view’s size.
Even with everything at 1x, I’ve still had the Tile Set Editor barf on me once and give me blurry tiles, so I’ve decided to permanently fix this by looping through all the textures in the tile set and setting the filteringMode. I wonder if there’s a better way of handling this…
let tileSet = map.tileSet
for tileGroup in tileSet.tileGroups {
    for tileRule in tileGroup.rules {
        for tileDefinition in tileRule.tileDefinitions {
            for texture in tileDefinition.textures {
                texture.filteringMode = .nearest
            }
        }
    }
}
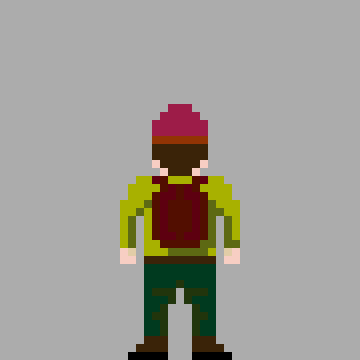
For Mountain Dash I decided to adopt a pixel art aesthetic, primarily as a way to keep the design of the graphics simple, but this choice has lead to its own challenges. I decided I would use a 16 x 32 pixel sprite but that I would render it at 32 x 64 points. Initially I was exporting my assets at 64 x 128 pixels for @2x and 96 x 192 pixels for @3x, but I figured that this was wasteful and there had to be a better way. So I decided to use only a 16 x 32 pixel image at 1x and scale the sprite to 32 x 64 points.
The following is what I got on my first attempt:
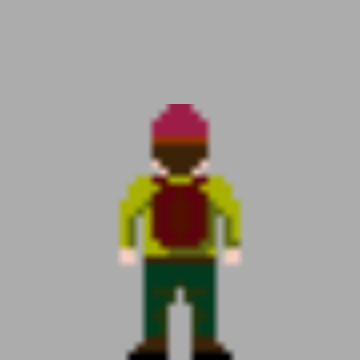
The sprite is blurry because of how it is scaled up. Fortunately, this is a simple 1-liner to fix. All you need to do is set filteringMode on your textures (all of them) to .nearest.
let firstTexture = climberAtlas.textureNamed("climber_still")
firstTexture.filteringMode = .nearest
climber = SKSpriteNode(texture: firstTexture)
…and voilà the sprite is rendered pixel perfect as desired!
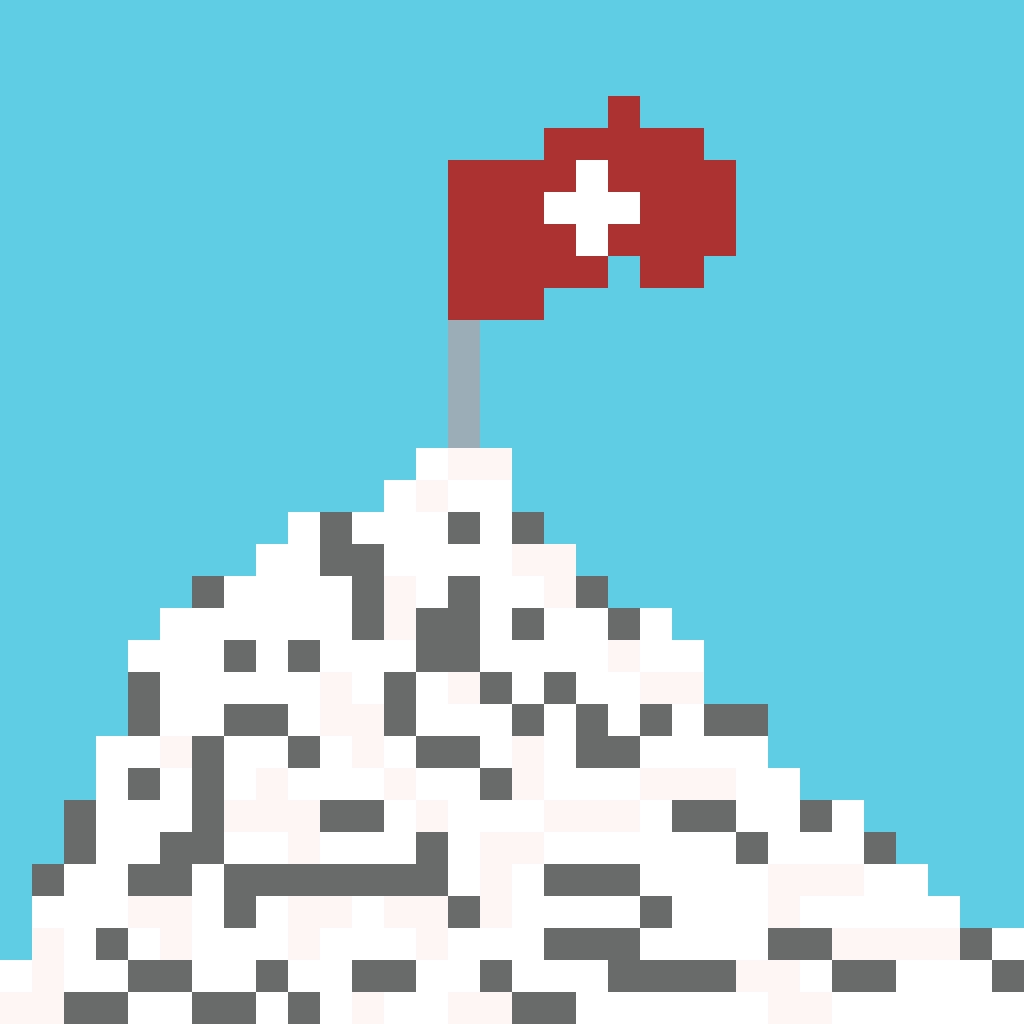
In January I decided to try and write my first iOS game. Inspired by our new home in Switzerland and the movie North Face, I decided that it would be a mountain climbing game. To keep things as simple as possible, it will be written in Swift using SpriteKit. Graphics will be done in a pixel art style. My son will be helping me with art and game play ideas.
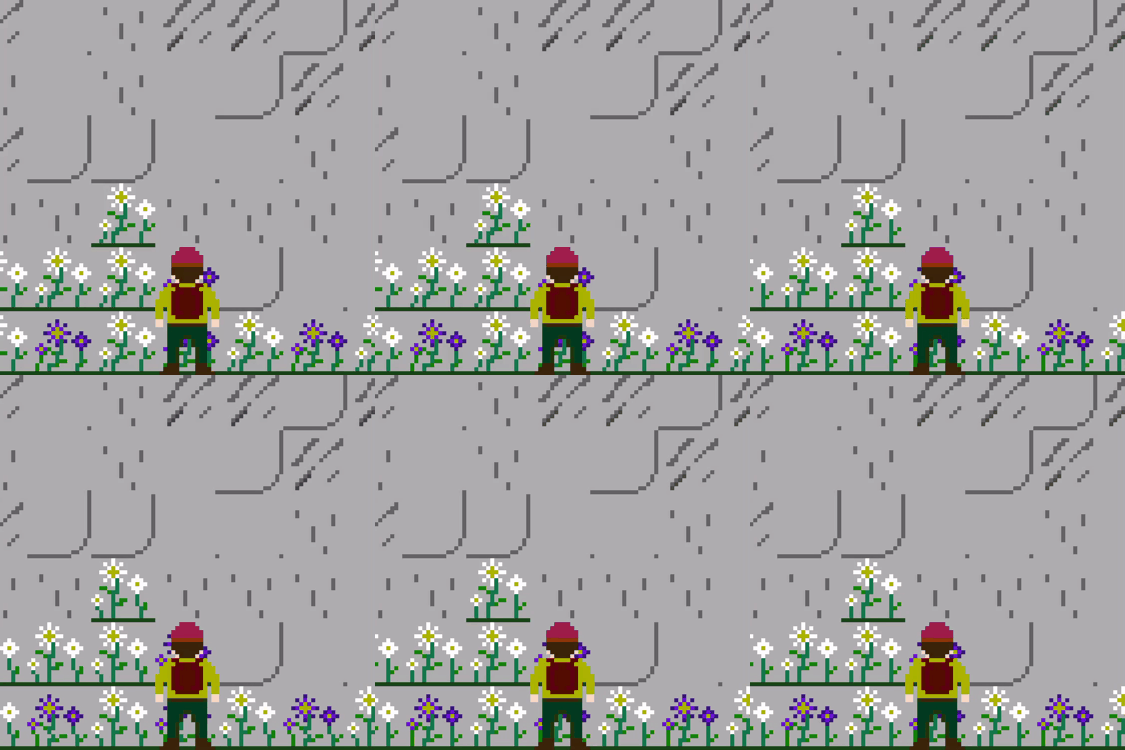
Why a game? Because I’ve always loved (retro) games, and I want to challenge myself with something new and learn frameworks and tools that I’ve never had occasion to use. Initially I thought I would open source the game (indeed it was a public repo on GitHub until just recently), but I finally decided against that for now. Mostly because even if the game is destined to never earn a penny, it would still suck if someone copied it, cloned it, and submitted it to the App Store before me. Maybe I’ll consider open-sourcing it after the game is finished. Regardless, I hope to write about little development challenges I run into along the way. Indeed I am already behind in writing about the first of those.
I’ve also invited my friend and colleague, Ethan Mateja, to join me in working on the game. I enjoy working with him and I hope that between the two of us we can keep things moving forward and not let the project languish. To be honest I didn’t touch the game during the entire month of February. But it’s March now and I’m pushing forward again.