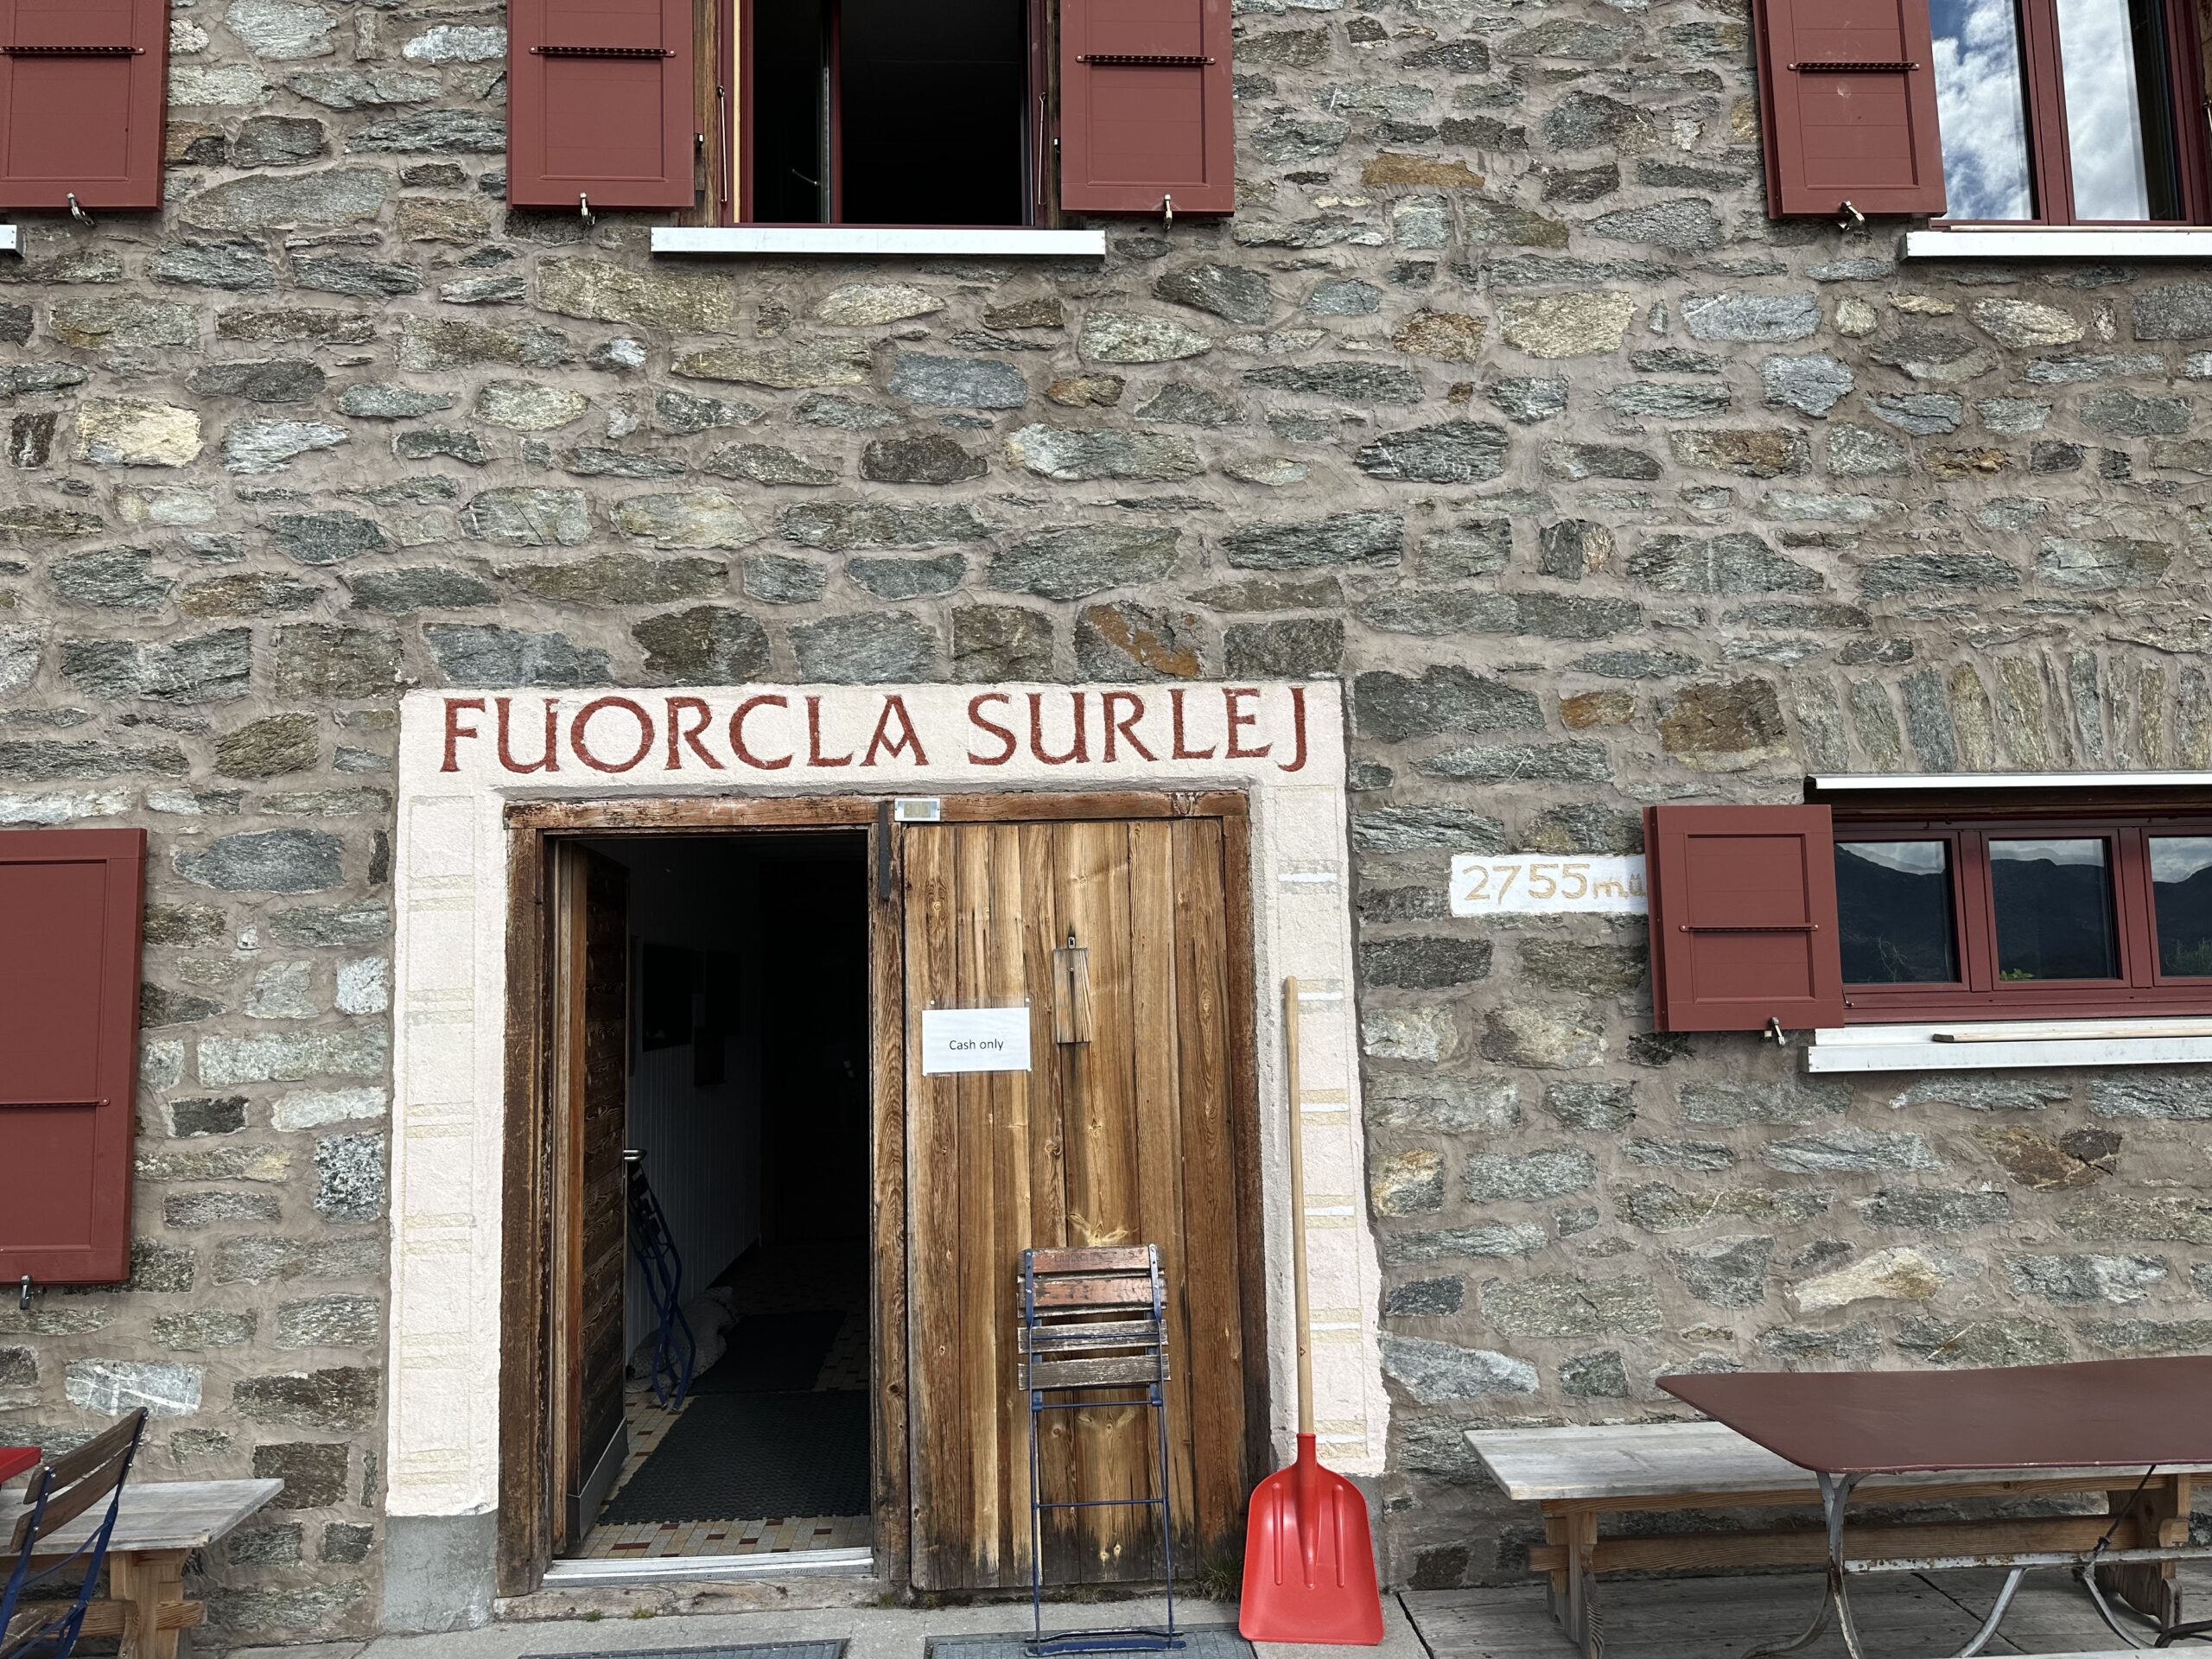
Fuorcla Surlej: Short and easy high altitude walk to a fantastic view. The deer sausage and walnut pie weren’t bad either. We had been here two years ago, but was definitely worth another visit. 4.5km, 137m ascent, 1h7m roundtrip, 13°C ⛅️


Mark Pospesel (Coding and Other Stuff)
Coding, tech, living abroad, travel, hiking, vintage plastic bricks
Fuorcla Surlej: Short and easy high altitude walk to a fantastic view. The deer sausage and walnut pie weren’t bad either. We had been here two years ago, but was definitely worth another visit. 4.5km, 137m ascent, 1h7m roundtrip, 13°C ⛅️


Via Engiadina, Stage 4: Bever – Zuoz. Pleasant rolling trail through mixed woods and alpine meadows. This walk was entirely below the treeline. 12.0km, 487m ascent, 3h30m, 11°C ☀️


Via Engiadina, Stage 3: Celerina – Bever. Some really nice high alpine areas in the first half. 10.8km, 227m ascent, 2h47m, 10°C ⛅️


This morning when I took the SUP out on the lake, someone was practicing the alp horn. I had that part of the lake all to myself, so I was able to relax on my board with a view of hilly pastures, farm houses, and forest while listening to alp horn music. Very Swiss. Would do again.

After five years without major issues, posting to my WordPress blog from the micro.blog iOS app is broken. Short posts do not use the status format. I’m also experiencing trouble posting images (they upload, but are not included in the post). I tried the Sunlit app, but it does not support alt text for images.
Now that the lake is finally warming up and I don’t have to leave early to get to language school every morning, I’m going to try to get out on the lake whenever the weather is nice. Yesterday I took the stand up paddle out for the first time this summer.

For the past six weeks I have been taking super-intensive in-person B1 German lessons. I studied A2 German for two years from Fall 2018 through Spring 2020, but then COVID came and I also became incredibly busy at work (first with BlockFi and then with Y Media Labs). I did an online test prep course in the Fall of last year (which helped me pass the A1/A2 language test that I will need to apply for permanent residency), but that was just a refresher and didn’t cover any new material. So it had been three years since I had learned any significant German.
When I found myself suddenly idle at the beginning of May, I realized that I had been granted an opportunity to continue my studies. I decided on a so-called “super intensive” German course that would cover the entire B1 level of German in just six weeks (with three hours of class every weekday). The language school location was not the best for me, but the closest schools offered nothing comparable. So for the last month and a half I’ve spent three and a half hours each day commuting to and from the language school. Fortunately Swiss public transport is top-notch and I can read, relax, or study on the trains and buses. Between the classes, the commute, and the homework, this was essentially a full-time endeavor.
The first week (and especially the first day or two) was especially tough as I adjusted myself to German-learning mode for the first time in three years. I’m proud to say that I completed the course and even aced the end-of-term test. My hope is that this will open up opportunities for me to do freelance development work with local companies (those that might not operate in English), although I may need to learn even more German. Regardless it will be helpful for my day-to-day life.
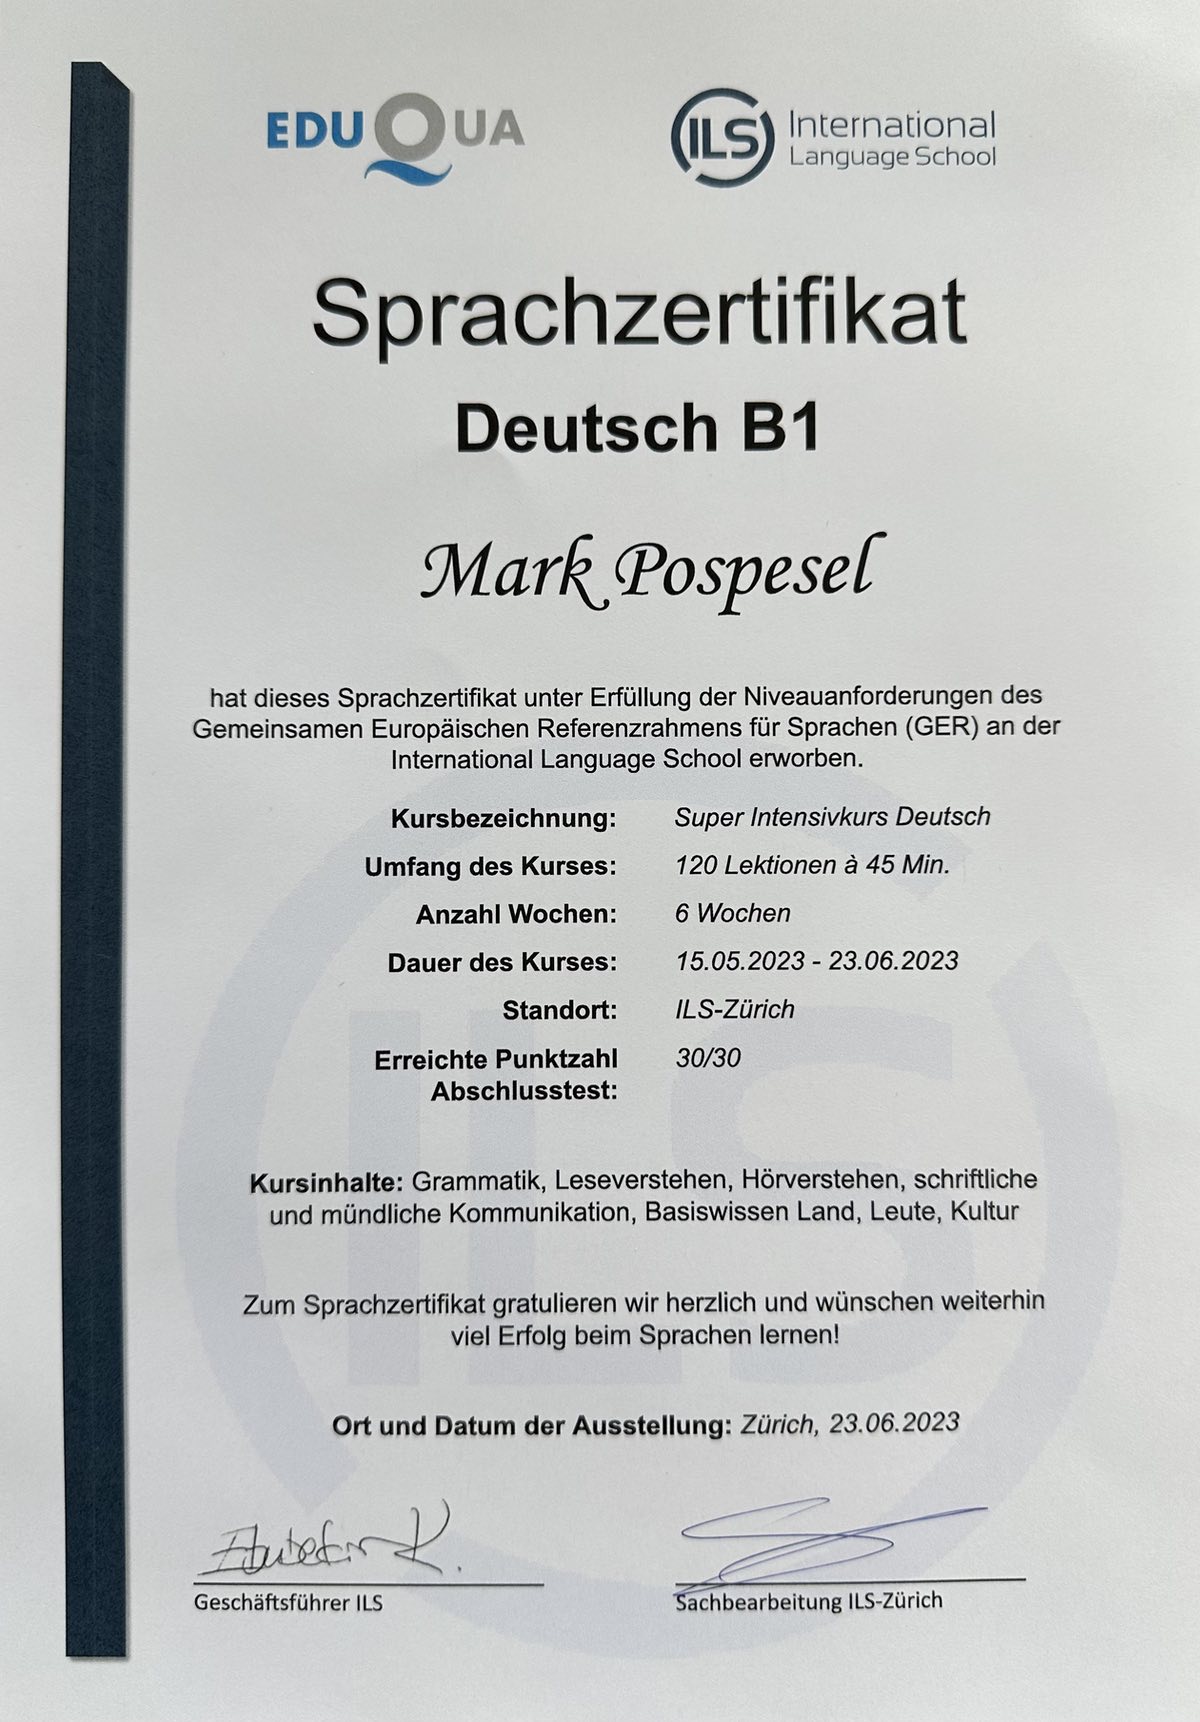
My goal is to take an online test prep course again this Fall and then take an official Goethe B1 German test in November. I also intend to enroll in a weekly German discussion group that will meet locally on Thursday evenings.
This is the second article in a series that details the Open Source Work for iOS that I have been leading at YML.
The inspiration for the Y—Matter Type library came from the most common mistake I see when converting designs to code on iOS: overlooking line height. Designs define typographies (or text styles), which describe how text should be rendered on screen. The four basic parameters of a typography are:
Font family: Helvetica Neue
Font style: Regular
Font size: 16px
Line height: 24px
For example, a design might call for a regular weight Helvetica Neue font with 16 pt font size and 24 pt line height. The first three parameters tell you which font to load on iOS, but the fourth parameter is typically just ignored outright.
let font = UIFont(name: "HelveticaNeue", fontSize: 16)
The code above generates the correct font, but what is its line height? Is it 16? It turns out that for a 16pt regular Helvetica Neue font, it is 18.64. A UILabel generated with that font will have a height of 19 on a 2x retina device (rounding up to the nearest pixel). But the designs expect that label to be 24 points tall per line of text. Of course you could constrain the label to have a height of 24, but then it could not support Dynamic Type. Also if it contains multiple lines of text, you don’t necessarily know how many lines it will wrap to and so couldn’t possibly constrain the height correctly.
The way you get line height to render in UILabel, UIButton, UITextView is by using paragraph styles and attributed strings. (To my knowledge SwiftUI does not yet support line height in any of its text views, which is one reason why I continue to utilize UIKit.) But applying paragraph styles via attributed strings to every button and label in an application would also be burdensome (which is why it typically just gets ignored).
To solve this, we created a Typography model object that captures all the parameters of design system typography and then accurately renders text in UIKit (which can then be hosted in SwiftUI if necessary). In addition to the most common parameters listed above, Typography also supports:
Typography objects are determined by the design (and with proper transformation can be automatically generated from design files) and then rendered via subclasses for all the text-based UIView classes.
Y—Matter Type declares TypographyLabel, TypographyButton, TypographyTextField, and TypographyTextView classes to replace use of UILabel, UIButton, UITextField, and UITextView, respectively.
Typography supports Dynamic Type scaling and the Accessibility Bold Text feature by default for any custom font.
Adopting Typography is a bit of a paradigm shift because you no longer work with fonts, only typographies. That’s because the exact font chosen will be determined at run time based on the current trait collection. For example, the following label might actually use a Helvetica Medium font instead of Helvetica Regular if the user has enabled the Bold Text setting.
let body = Typography(
    familyName: "HelveticaNeue",
    fontWeight: .regular,
    fontSize: 16,
    lineHeight: 24
)
let label = TypographyLabel(typography: body)
The Bold Text feature works by having information about an entire font family (what weights are available) and not just a single font. If we know all the available weights, then we can vend the next heavier weight (if any) when Bold Text is enabled.
Dynamic Type scales Typography proportionately with line height. So the 16/24 Typography shown above scaled to 200% would use a 32pt font rendered with a 48pt line height.
The goals of the Y—Matter Type package are to:
I am proud that we delivered low-level components that make it trivial to accurately render text as per designs while at the same time including Dynamic Type and Bold Text support with little additional burden for the developer. To my knowledge no client has ever asked for Bold Text support (or even knew it existed really), but we build that in for their users anyway.
Together with Y—CoreUI, Y—Matter Type is part of how we build iOS apps at YML.
This is the first article in a series going into detail about the Open Source Work for iOS that I have been leading at YML.
One of the first Swift package we created and released was Y—CoreUI. As its name suggests, it is one of our core libraries for doing UI work on iOS. It consists primarily of:
1. UIView extensions for declarative Auto Layout
2. UIColor extensions for WCAG 2.0 contrast ratio calculations
3. Protocols to aid loading string, color, and image assets
4. Model objects to declare drop shadows and animations
I’m a big proponent of building UI’s entirely in code when working in UIKit. NSLayoutConstraint is an old friend, but cumbersome to use. These layout extensions just create NSLayoutContraint‘s but in a more declarative and less verbose manner and with smart defaults for most parameters. Want to constrain a subview to all 4 sides of its superview?
subview.constrainEdges()
Want to pin a subview to the center of its superview?
subview.constrainCenter()
It’s that simple. Need to do something more complex like centering a view horizontally but ensuring that it doesn’t overflow its superview? That’s also simple.
subview.constrainCenter(.x)
subview.constrainEdges(.horizontal, relatedBy: .greaterThanOrEqual)
(That last line is clever enough to invert the relationship and created the .trailingAnchor constraint with the .lessThanOrEqual relation.)
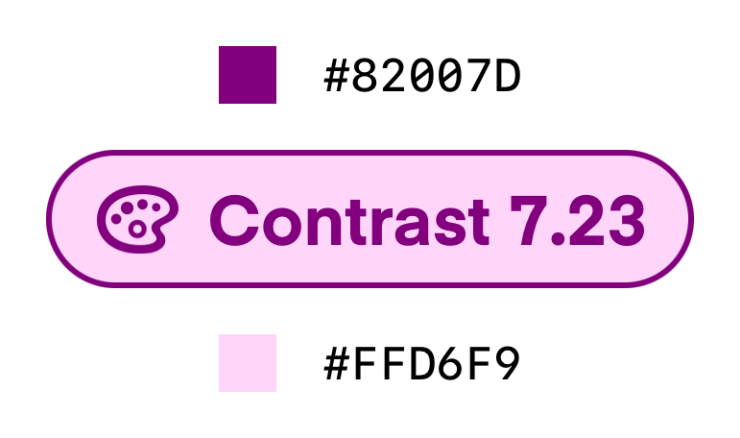
I think this is my favorite part of this library. WCAG 2.0 specifies contrast requirements for foreground and background colors that appear together to meet AA or AAA levels of compliance (I like this handy checker). This ratio works by converting the color into LCh color space (great article on LCh) and comparing the Luminance values. There are various design tools to check these contrast ratios, but what if we could do it programmatically as part of unit tests and across both light and dark modes and regular and increased contrast modes?
XCTAssert(
    foregroundColor.isSufficientContrast(
        to: backgroundColor,
        context: .normalText,
        level: .AA
    )
)
As a bonus we expanded the calculations to work when the foreground color is not opaque (this is the case for Apple’s system colors such as UIColor.secondaryLabel). If you need the exact contrast ration value, there’s a method for that as well.
let ratio: CGFloat = foregroundColor.contrastRatio(to: backgroundColor)
These are a series of protocols that make it simple and testable to load localized strings, colors, images, and even SF Symbols using enums. Of course it’s trivial to load a color from an asset catalog using UIColor(named: "someName"), but from my viewpoint this has some drawbacks:
1. not easily unit testable
2. fails silently (returns nil)
Y—CoreUI provides a Colorable protocol that any string-based enum automatically conforms to and adds the following methods:
var color: UIColor { get }
func loadColor() -> UIColor?
loadColor() is failable and ideal for unit testing, while color is guaranteed to return a color (by default UIColor.systemPink as a fallback color), but will also log a warning to the console if it falls back. Usage and unit testing is simple:
enum WarningColors: String, Colorable, CaseIterable {
    case warning50
    case warning100
}

func test_warningColors_deliversColors {
    WarningColors.forEach {
        XCTAssertNotNil($0.loadColor())
    }
}
The Localizable, ImageAsset, and SystemImage protocols do the same thing for localized string resources, image assets, and system images (SF Symbols), respectively.
A large part of our jobs as iOS developers is rendering user interfaces from designs, but this can some times be difficult because the way designs are described in design files can differ from how they are implemented on iOS. For example, Figma and Sketch describe drop shadows as they are defined for the web using the parameters: horizontal offset, vertical offset, blur radius, and spread. On iOS though we have shadowRadius, which when you look in Stack Overflow contains incorrect answers as to how to convert blur radius to shadowRadius. In Y—CoreUI we defined an Elevation object that describes a drop shadow in web/design terminology and knows how to properly apply them to views. This includes correctly calculating spread for rects and round rects. The Elevation object was designed to be automatically generated from Figma tokens using transformation tools such as Style Dictionary.
Another useful model object is Animation which lets us build components with customizable animations without necessarily knowing exactly which type of animation will be chosen. We leverage this for the animations in our snackbar/toast library, Y—Snackbar.
/// Animation curve
public enum Curve: Equatable {
    /// Regular animation curve
    case regular(options: UIView.AnimationOptions)
    /// Spring animation
    case spring(damping: CGFloat, velocity: CGFloat, options: UIView.AnimationOptions = [])
}
That wraps up a cursory overview of YML’s core iOS UI library. In my next article I will describe its companion library for rendering design system typography, Y—Matter Type.
As part of my role as iOS Chapter Lead at YML, I lead a team that builds reusable code that can be shared across projects to accelerate development, reduce bugs through the use of well-tested code, and inject accessibility features into projects with little additional overhead.

Over the past year or so we have started releasing this code as a series of open source Swift packages on GitHub. To date we have released 14 Swift packages! The easiest way to view them is actually on the Swift Package Index.
These packages are already part of several shipping products. You might have used them to order your food, buy your groceries, sell your car, or schedule a doctor’s appointment.
I’m incredibly proud of this work and our little team. Every package in this collection is:
Over the next week I plan to write a series of posts that go into more detail on some of the projects. Many of them include some pretty cool accessibility features that I am proud to have shipped and to have included in apps that reach tens of millions of users.